Now that you’ve successfully compiled your code and created an executable program, it’s time to run it!
There are two different ways we will usually run our programs in this course: via the command line, or via Visual Studio’s “Start Debugging” button.
PAY ATTENTION TO SAVING/COMPILING
TLDR; Do the stuff in the green boxes VERY often, otherwise you’re gonna have a bad time. And use Ctrl + s so often that it becomes muscle memory.
While programming, you won’t create a program that does exactly what you want on your first, third, or even 30th time you compile. You will need to write code, save, compile, run your program, and then go back to fix bugs or alter program behavior repeatedly. Make sure you are compiling EARLY and OFTEN! If you only ever compile AFTER you’ve written the entire program, it will be much more difficult to diagnose errors.
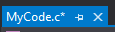
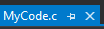
Not Saved, this is a time bomb! 💣😢 Saved, and totally cool 😎 Remember, saving your work via ==Ctrl + s== is your friend!
Be vigilant about saving your code file(s), and compiling your program, BEFORE running your executable. If you don’t save your code often, then what you see in your code editor won’t match the code file that is seen by the compiler!
flowchart LR
a["Edit code"]
b["Compile code"]
c["Generate .exe"]
d["Forgot to save or compile!"]
f["Compile OLD code"]
g["Run .exe"]
h["Run OLD .exe"]
i["SAVE"]
x(("😇 Happiness and Enlightenment 😇"))
y{"💀 Confusion and Torment 💀"}
subgraph SAVE
i
end
subgraph GOOD
g -->|Edit code to fix bugs or improve program| a
a <--> i --> b
b --> c
b -->|Compile Error, fix code| a
c --> g --> x
end
a --->|Path of misery and wasted hours|d
subgraph BAD
d --> f --> h --> y
d --> h
end
classDef badNode stroke:#f22222,stroke-width:4px,color:#fff,stroke-dasharray: 5 5;
classDef goodNode stroke:#2bff24,stroke-width:4px,color:#fff;
classDef runNode stroke:#2471ff,stroke-width:4px,color:#fff;
class d,f,h, badNode;
class a,b,c,i goodNode;
class g runNode;
Option 1: Start your program on the command line
Warning
The rest of this tutorial assumes you’re using a Powershell terminal from within Visual Studio. If you decide to use the command prompt or use a terminal outside of Visual Studio, be advised that certain commands may not match or produce the output in the tutorial.
Let’s say your code file is called MyCode.c, and your compilation produced an executable called MyCode.exe. From our powershell terminal in VS, we can type the following command:
./MyCode.exeThis will run our program! You should be able to see the program’s output in the powershell terminal:
This is the program output!
This program just prints some text, and doesn't do anything important.
Option 2: Start your program via the “Start Debugging” button
We will usually run our programs this way when we want to use Visual Studio’s debugger to find a bug. But we don’t need to be debugging to use this option; you may find it more convenient than starting your program from the terminal.
Note that using the “Start Debugging” button isn’t actually sufficient if we want to debug our program in the debugger; you will need to compile your code using the MSVC debug flag, and set breakpoints in your code. Visit the debugging note for more info on using the debugger.
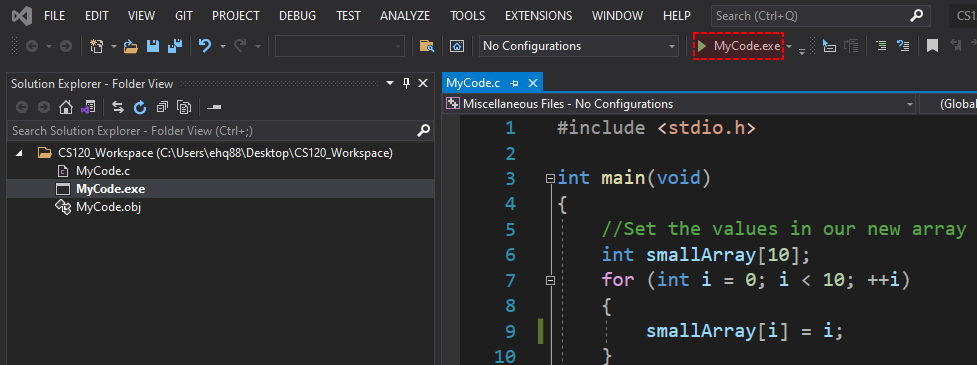
Find your executable file in the Solution Explorer
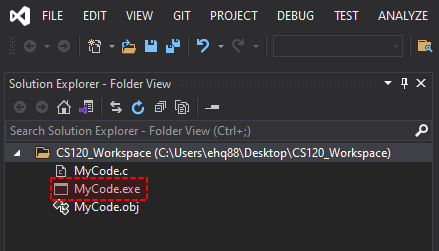
You should be able to see your executable file in your solution explorer:
Set the executable as your startup item
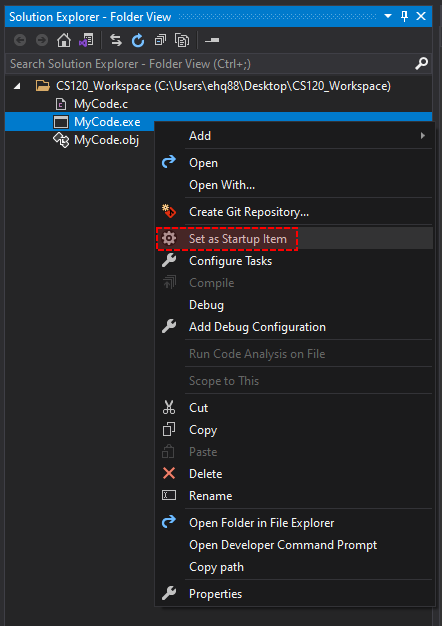
Right click your executable. Find and click the “Set as Startup Item” option:
Run your program
Either press the ==F5== key on your keyboard, or press the Start Debugging button in Visual Studio:
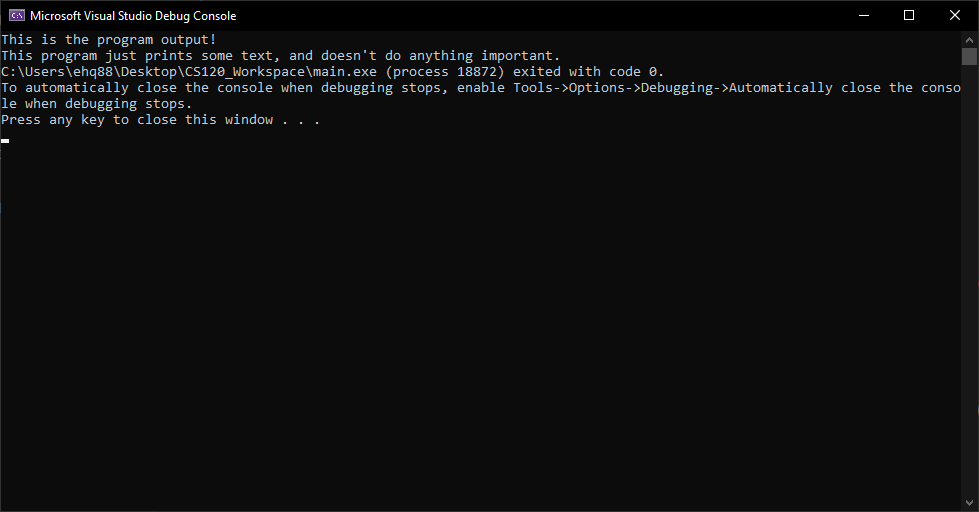
This will run our program! You should be able to see the program’s output in a new window that should pop up:
Don’t worry about the extra text; this is just Visual Studio telling us some extra information about how our program ran.